Basic 2-3 zone defense rotations. Use it to change pace, slow down an aggressive team, or use length to force turnovers.
The 1-3-1 zone setup and each position's role. Use it as a base, change-of-pace or trapping defense.
A 1-3-1 zone that picks up the ball at the opposing free throw line to put extra pressure on the offense.
Blitz variation of the 2-3 zone defense. Sends aggressive pressure at the ball to speed up the offense and force turnovers.
A hybrid defense that mixes man-to-man and zone principles to take away a dominant scorer.
The ball-side wing traps as the dribbler crosses half court, forcing a pickup and a weak lob to pick off.
A packed-in 1-3-1 zone with no traps that keeps the ball out of the middle and collapses on it if it gets in.
Trap the ball in the baseline corner in a 1-3-1 zone and force a soft lob pass over the top to pick off.
2-3 zone rotations with the ball at the top. Keep the point guard out of the paint, deny the high post and push the ball to the wing.
How the 1-3-1 zone defends the high post, one of its weak spots, by forcing the ball out of there quickly.
2-3 zone trap on the wing. Traps the ball on the wing to pressure the handler and force rushed passes out of the zone.
2-3 zone trap in the short corner. Traps the ball when it reaches the baseline area and closes off the easy pass inside.
2-3 zone rotations once the ball reaches the high post. Pack the zone to stop the high-low pass and be ready to close out on shooters.
2-3 zone adjustment that matches up on the high post. Takes away the most dangerous pass against the zone.
2-3 zone rotations with the ball on the wing. Deny the high post and low post, and give up passes to the corner or back to the top.
2-3 zone rotations with the ball in the corner. Shut off the high post and low post, then sag to pack the paint or force a play.
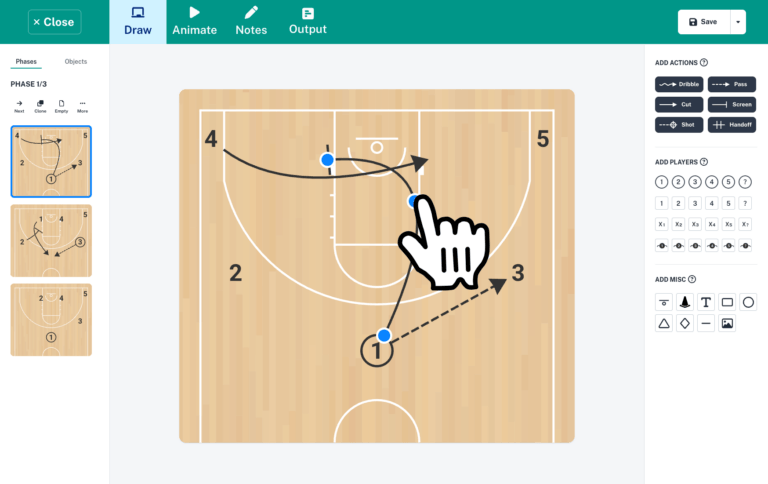
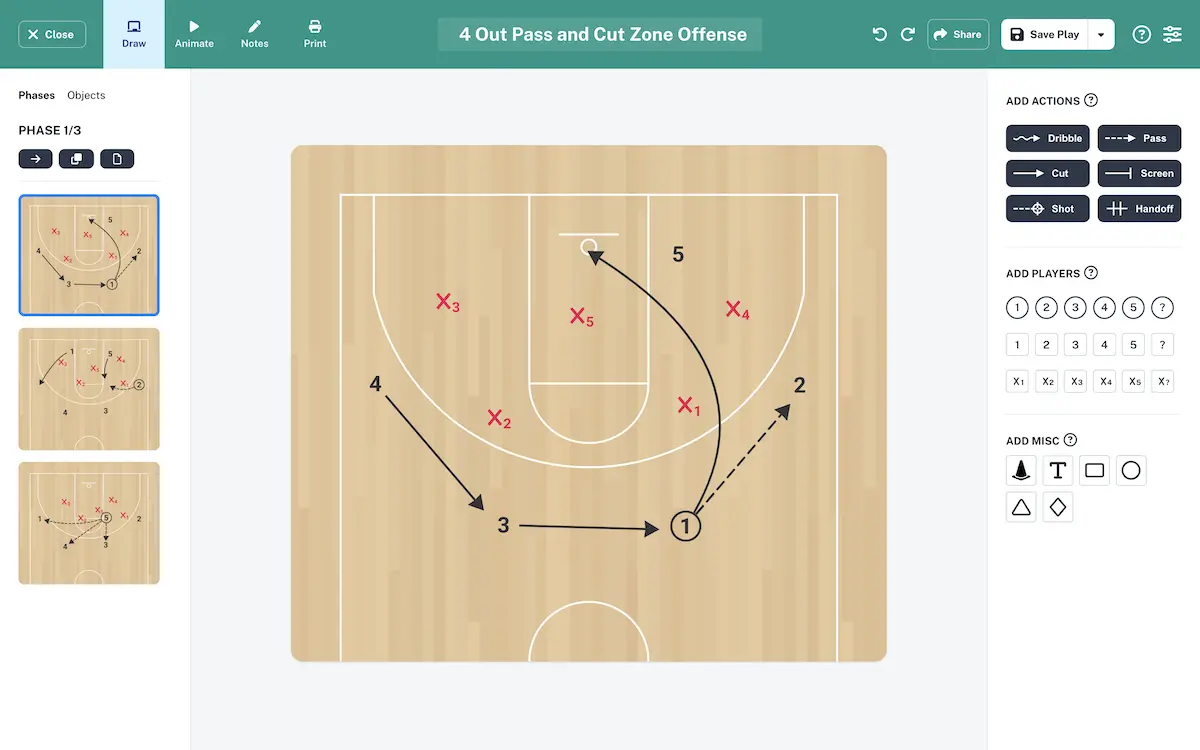
Create plays with our intuitive drag & drop editor.
Your plays will be animated automatically!
© 2026. The Hoops Geek